Jenkins

Jenkins is an open-source automation server by which you can automate the building, testing, and deployment of the application to different servers like development, testing, and production. Jenkins is primarily used for the continuous integration (CI) and continuous Deployment (CD) pipelines.
What is Jenkins
Jenkins is a hub for automating the various aspects of the software development lifecycle which includes building, testing, and deploying the application. We can call Jenkins a pipeline orchestrator where the developer can manage the pipelines of the projects that they have been developed.
Why Jenkins?
Master CI/CD Pipelines: Automate building, testing, and deploying code efficiently.
In-Demand DevOps Skill: Jenkins knowledge is valuable for roles like DevOps Engineer and Build Engineer.
Automate Repetitive Tasks: Save time and reduce human error in software development.
Wide Tool Integration: Works with numerous tools like Git, Maven, Docker, and Kubernetes.
Boost Team Collaboration: Facilitates continuous integration and feedback, improving team workflows.
Scalability: Supports large-scale projects with distributed builds.
Career Growth: High demand for Jenkins expertise opens better job opportunities.
Installing Jenkins on Windows
Jenkins is primarily used for continuous integration and continuous delivery on a platform. It is a Java application that has multiple plugins for automating all components at an infrastructure level. These plugins are responsible for all the different functionalities of Jenkins.
Jenkins Installation Steps Using Windows MSI Installer
Follow the below step to install Jenkins in your Windows operating system: To know how to build Jenkins ci/cd pipeline refer to the How to Make a CI-CD Pipeline in Jenkins?
Step 1: Go to “https://jenkins.io/download/”
Step 2: Choose the Platform on which you are interested to install.
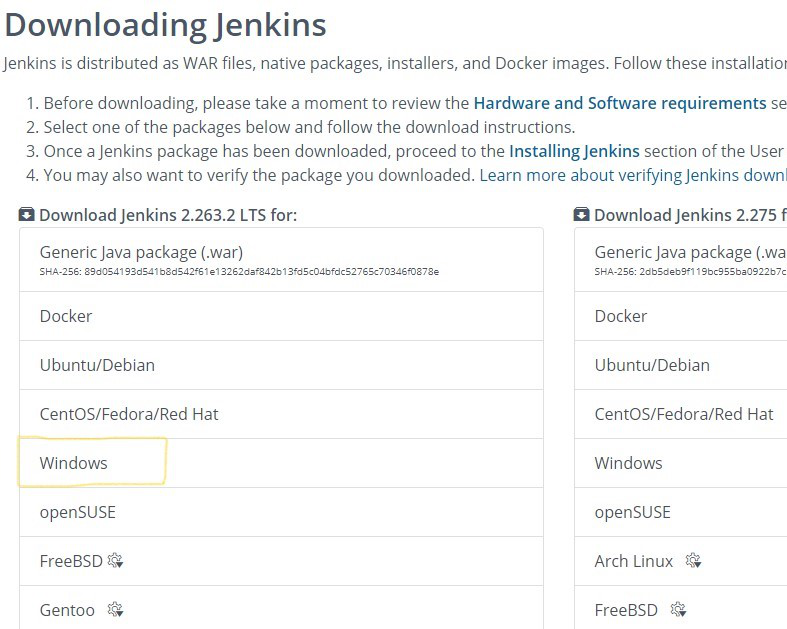
Step 3: For this we selected Windows, you can download either LTS or weekly releases. Click on Download for Windows 64-bit. File will download
Step 4: Double-click on the file which is downloaded, this will lead to the below window. Click Next twice.
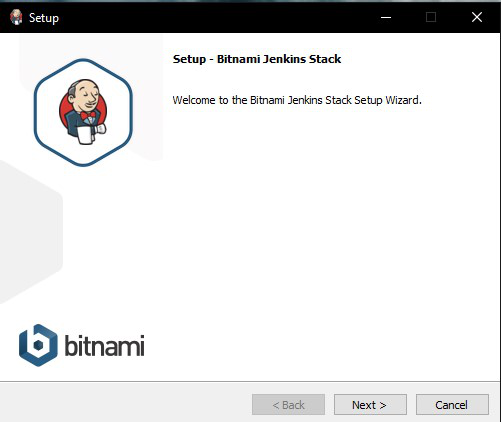
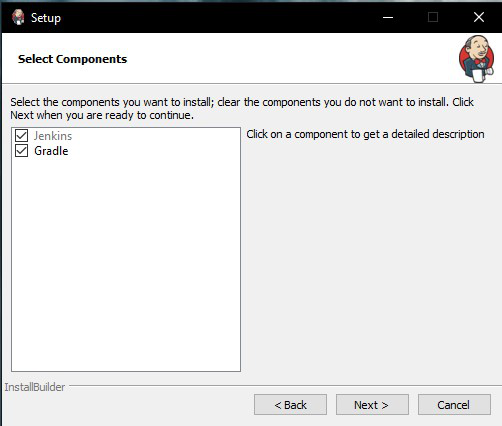
Step 5: Click next and give your name and mail details and click next
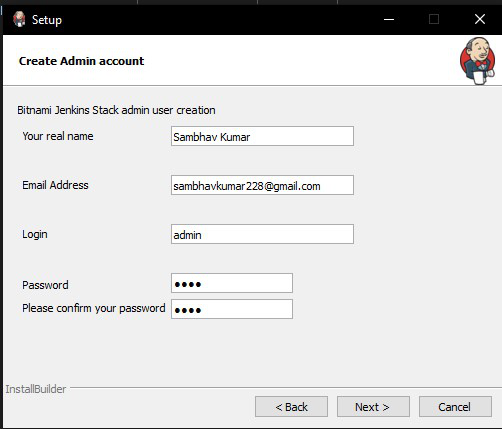
Step 6: Click on the Allow access button and Finish Button
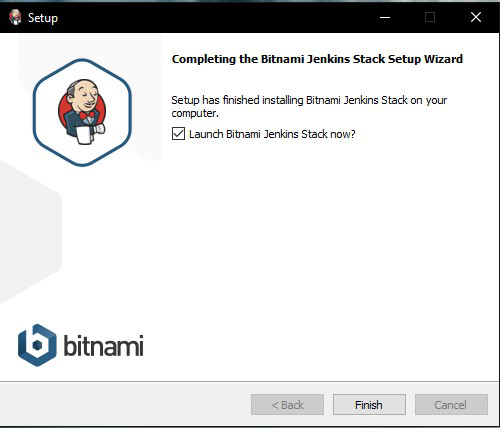
Step 7: Click on Access Jenkins
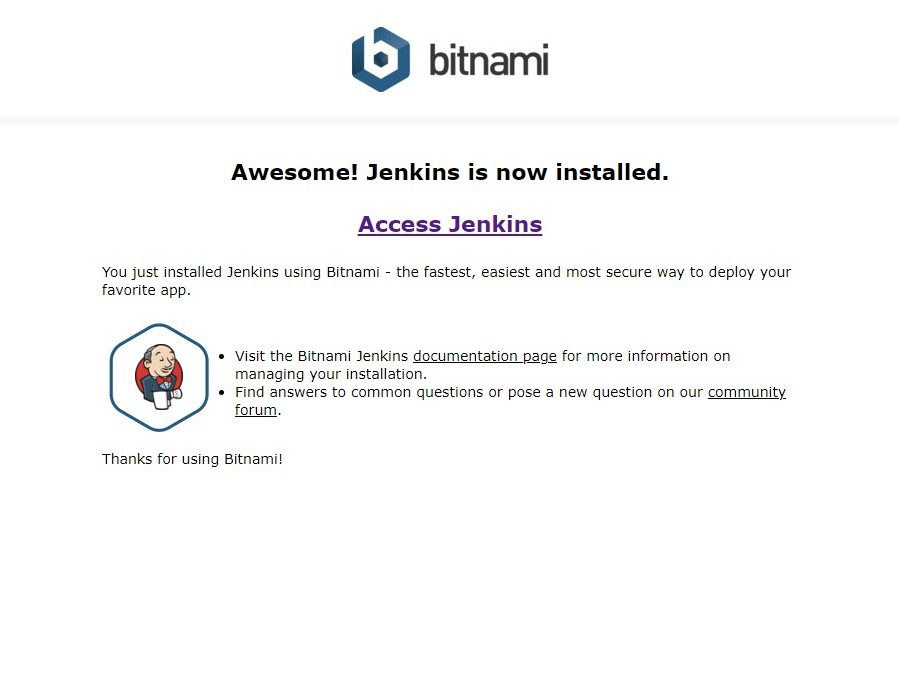
Post-Installation Setup Wizard
After downloading you need to follow some steps to setup jenkins to processed further.
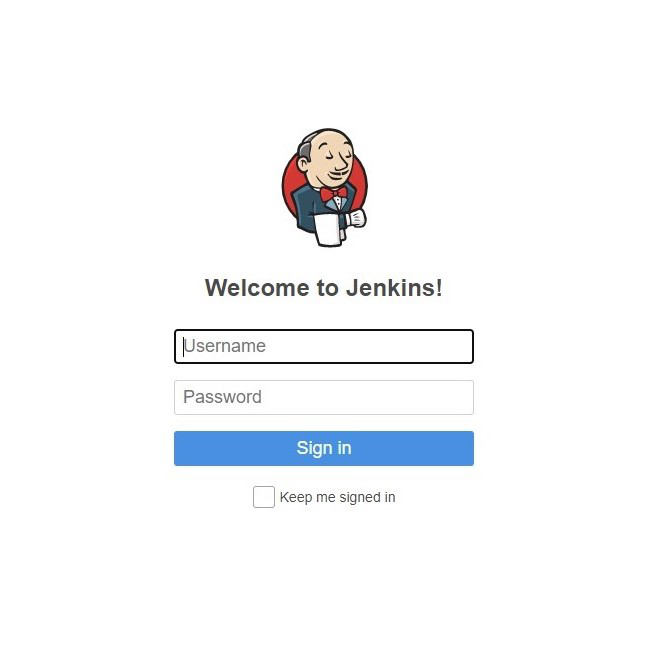
Step 1: Type the user name and password which had given earlier to open Jenkins
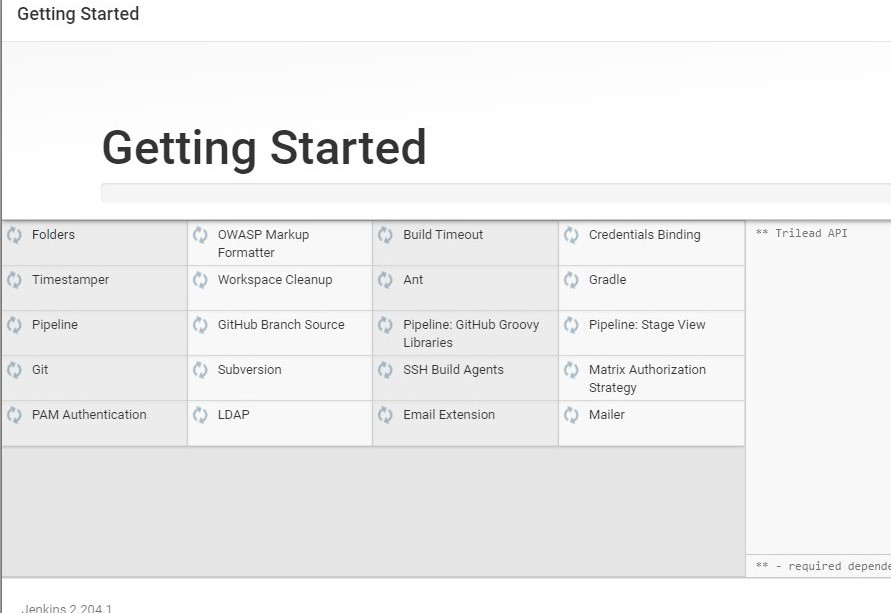
Step 2: Click install suggested plug-in and click continue
Step 3: Click on save and finish
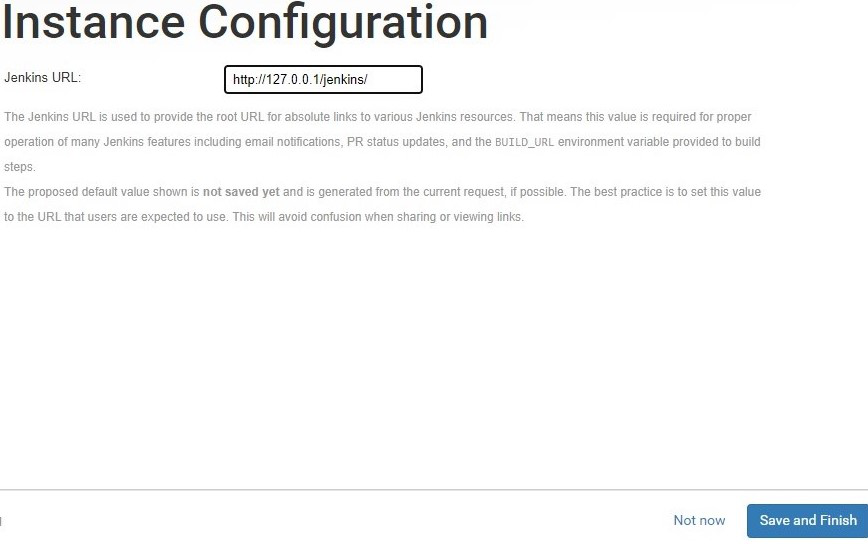
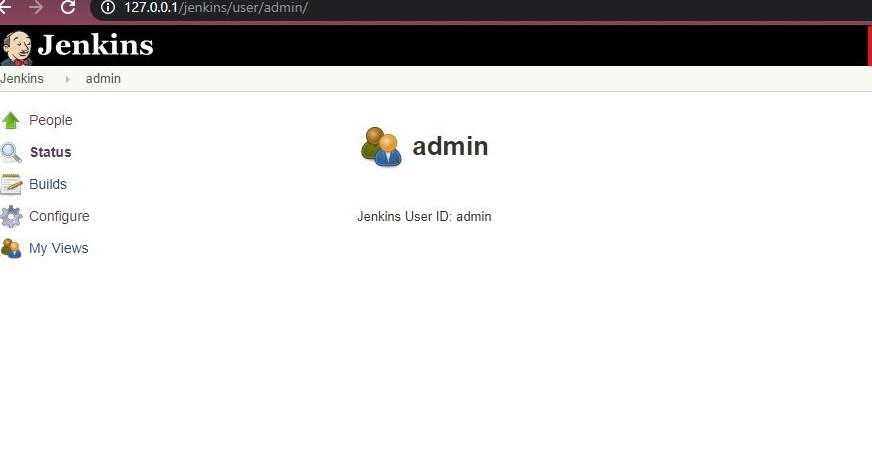
Step 4: Refresh the screen and you will login into Jenkins
6 Steps to Install Jenkins on Windows
1. Download Jenkins MSI installer
MSI stands for Microsoft Windows Installer which is used to install the softwares on windows systems. Mostly used to install large and complex packages. You can download latest version of MSI on jenkins website.
2. Install Java Development KIT(JDK)
Download the JDK 8 installer for Windows, choosing the 32-bit or 64-bit version depending on your system configuration. Agree to the license agreement.
3. Set the Path for the Environmental Variable for JDK
Open Jenkins web interface go to jenkins left-hand sidebar and select the configure system select the environmental variables.Select the new variable section and set as following.
Variable: JAVA_HOME
Value: The path to the JDK installation directory. For example, on Windows, the default installation directory for JDK is C:\Program Files\Java\jdk1.8.0_311.
Click Add
4. Run Jenkins on Localhost 8080
Once the jenkins is get installed you need to access it from the browser by using the “localhost:8080”. Install all the recommended plugins when prompted by the dashboard.
5. Jenkins Server Interface
After acessing it from the internet by using local host know you can create your own project by clicking on the new item or new project where you can select the different kind types of projects you want like Freestyle project, Pipeline,Multi-configuration project and son on.
6. Build and Run a Job on Jenkins
After writing the pipeline is done click on save it will be directly redirected to the Dashboard of the project there we can use, the “Build Now” option to run the pipeline and check if it is successful or not, by using stage view or console output.
How To Install Jenkins On Windows Using Command Prompt?
Follow the steps mentioned bellow to install jenkins using command prompt.
Step 1: Download the jenkins WAR(Web application) file into the machine which you want to install the jenkins you achive that using following command.
wget https://get.jenkins.io/war-stable/latest/jenkins.war
Step 2: Create and the move the jenkins war file to that directory.
mkdir jenkins & mv jenkins.war jenkins
Step 3: Run the jenkins using the following command.
java -jar jenkins.war
Install Jenkins on Amazon EC2: Step-by-Step Guide
Jenkins configuration in the EC2 instance on the Amazon Web Service Platform includes all steps in detail, which helps the user easily set up your Jenkins tools on the EC2 instance for continuous integration and continuous development. Nowadays, Jenkins has become a more popular tool as compared to others, and it is open source. It is free, and it is lightweight. Jenkins using the 8080 port. Jenkins code is available for everyone to contribute and add more features to this tool. It has a strong community and it has a number of plugins to do any type of work related to continuous integration and continuous development.
Prerequisites
We need to set up an Amazon account.
Amazon Linux instance.
Installing Jenkins on Amazon EC2 | Step-By-Step Guide
Below are the steps to guide the launch of an EC2 instance and install Jenkins on AWS EC2:
1. Launching an Amazon EC2 instance
Launch a virtual server in the Amazon Web Services (AWS) Elastic Compute Cloud (EC2) service and configure it with Jenkins, enabling you to deploy and run applications on scalable compute capacity within the AWS cloud infrastructure while utilizing Jenkins for continuous integration and deployment workflows.
Step 1: Open the AWS console. Click on the EC2 Service.

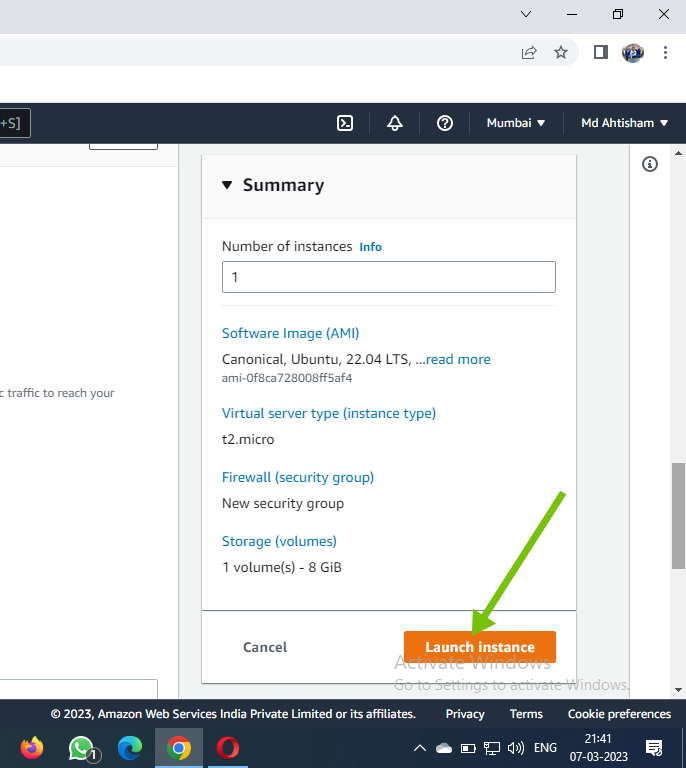
Step 2: Click on the Launch Instance button

Step 3: Type the Instance name – Ubuntu. Select the AMI – Ubuntu

2. Creating a key pair
How To A Create A Key Pairs In AWS-EC2 ? |Complete Tutorial – Read.
In the following step 4 we are selecting the existing key pair.
Step 1: Select the Instance type – t2.micro.Create or choose the existing Key pair – linux1

3. Creating a security group
What is Security Group in AWS and How To Create it? – Read.
In the following step we are selecting the existing security group.
Step 1: Create the security group or choose the existing security group. Open the Port. Confirm that port 8080 is open for traffic in your security groups. Jenkins uses this port by default.
8080 – Jenkins
80 – HTTP
43 – HTTP

Step 2: Click on the Launch Instance Button
Connecting to your Linux instance
Establish a secure shell (SSH) connection to your AWS EC2 instance, allowing remote access to the server’s command-line interface for configuration, and management.
1. Using SSH to connect to your instance
Following steps to connect the VM using the ssh
Step 1: Let us SSH onto the Amazon Linux instance where Jenkins is being installed to do some things first. Open the terminal and type:
ssh -i <your_key>.pem ec2-user@<your_amazon_linux_instance_ip>
Step 2: Type the command for Root access
sudo su -

Downloading and installing Jenkins
1. Install java on vm
Step 1: To ensure your system is up to date, open a terminal window and execute the following command:
apt-get update -y

Step 2: To install Java, which is a prerequisite for Jenkins, you can use the following command in your terminal:
apt install openjdk-11-jre

Step 3: Verify the version of java by executing the following command.
java -version

2. Downloading Jenkins
Step 1: Below command is used for downloading and saving the Jenkins repository key to a keyring file named jenkins-keyring.asc.
curl -fsSL https://pkg.jenkins.io/debian/jenkins.io.key | sudo tee \ /usr/share/keyrings/jenkins-keyring.asc > /dev/null

Step 2: After making the repository URL into a file named jenkins.list in the /etc/apt/sources.list.d/ directory, the bellow command puts the Jenkins repository to the list of package sources.
echo deb [signed-by=/usr/share/keyrings/jenkins-keyring.asc] \ https://pkg.jenkins.io/debian binary/ | sudo tee \ /etc/apt/sources.list.d/jenkins.list > /dev/null

Step 3: Update the packages again using the below command.
apt-get update -y

Installing and configuring Jenkins
Deploy and configure the Jenkins automation server on your AWS EC2 instance.
Step 1: The below command to installs Jenkins on your system using the apt package manager. The -y flag automatically confirms all prompts during the installation process, ensuring seamless installation without manual intervention.
sudo apt install jenkins -y

Step 2: The below commands enable and checks the status of the Jenkins service using systemctl. It provides information about whether Jenkins is running, stopped, or encountering any issues.
sudo systemctl enable jenkins
sudo systemctl status Jenkins

4. Configuring Jenkins
Access the Jenkins web interface using the instance’s public IP address and port number to begin configuring and managing your Jenkins server and automation pipelines.
Step 1: Obtain Initial Admin Password.
After accessing Jenkins through your browser via “HTTP://<instance-ip>:8080”, you’ll be prompted to provide the initial admin password. This password is located in the file “/var/lib/jenkins/secrets/initialAdminPassword”. Copy the password from this file and paste it into the command shell prompt. Subsequently, you’ll receive a unique code for Jenkins initialization.


Step 2: Set Jenkins Administrator Password.
Once you’ve obtained the initial admin password from Step 1, paste it into the prompt labeled “Administrator password” in the Jenkins web interface. This step enables you to authenticate as the administrator and proceed with Jenkins setup and configuration.

Step 3: Create the First Admin User.
In this step, you will create the first admin user for your system, granting initial administrative privileges to manage and configure the platform.

Step 4: Install Suggested Plugins.
After setting up the administrator password, click on the “Install suggested plugins” button in the Jenkins web interface. This action initiates the installation of the recommended plugins, which are essential for Jenkins functionality and features.

Step 5: Jenkins Setup Completion.
With the installation and configuration completed, Jenkins is now ready for use. Navigate to the Jenkins dashboard and click on “New Item” to create a new job. From here, you can begin configuring and running your automated build and deployment pipelines.

Deleting your EC2 instance
Navigate to the “Instances” section in the left-hand navigation bar of the Amazon EC2 console.
Locate the instance you want to terminate and select it.


